Selecting the Right Materials for Your Ghost Face Costume
Choosing the right fabrics and materials is crucial for crafting a ghost face costume that is both scary and comfortable. You’ll want to select fabrics that are lightweight and flow easily, creating the illusion of a ghostly figure floating in the air. Breathable cotton or gauzy materials are ideal because they drape well and won’t make you too hot while you’re wearing the costume.
For the face itself, white or pale fabric works best to reflect the ghostly pallor you’re aiming for. You can use plain white cotton or stretchable jersey material which is easy to see through when it’s close to your face. Make sure that the eye holes are large enough to provide ample visibility but remember to reinforce the edges to prevent them from fraying.
Many ghost costumes also include tattered elements for an eerie effect. Consider using cheesecloth or muslin that you can distress easily to add texture and depth to your costume. These fabrics can give your ghost face costume an ancient, cobweb-covered appearance.
For the hood or mantle of the ghost, choose a fabric that can hold its shape slightly, such as lightweight felt or interfaced cotton. This will help in retaining the shape around your head and shoulders, giving you a more defined silhouette.
Lastly, secure your fabrics with strong, easy-to-use adhesives or stitching materials. Fabric glue that dries clear is a good option if you prefer not to sew. Or, if you’re comfortable with a needle and thread, ensure your stitches are small and tight for durability.
Remember, the key to a convincing ghost face costume is in the material’s movement and texture. Take your time in selecting the right materials that will contribute to the spooky atmosphere you’re trying to convey.
Designing Your Ghost Face: Features to Consider
When designing your ghost face costume, small details can have a big impact. Start by sketching ideas for the facial features. A classic ghost face has hollow eyes, a gaping mouth, and a contorted expression. Next, decide on the size and shape of the eye holes — large enough for visibility, but not too big to break the illusion.
For a more haunting effect, you might add shadows around the eyes and cheeks using light grey or black fabric. Think about using sheer layers to create depth. An asymmetrical design can make the costume scarier, suggesting a ghost’s tormented past.
The mouth of the ghost face is crucial. A long, wailing mouth appearance enhances the frightful look. Try slanting the mouth to one side for a ghastly grimace.
Don’t forget the eyebrows. Angled, sharp eyebrows can make your ghost face look angrier or more sinister. Use strips of dark cloth to craft them, or stitch them directly onto the headpiece.
As you design, keep comfort and wearability in mind. The facial features should not interfere with the costume’s fit or your ability to move freely. Safety is key — ensure the mouth and eye areas are clear so that breathing and sight are not obstructed.

Step-by-Step Guide to Creating Your Ghost Face Mask
Creating your own ghost face costume mask is a fun and engaging process. Follow these simple steps, and you’ll have a spooky ghost face mask in no time.
- Get your materials ready. Gather all the fabrics and tools you selected from the earlier steps. Include scissors, fabric glue, or a sewing kit.
- Cut the fabric to size. Measure the fabric against your face for the mask base. Cut out a piece that covers your entire face with extra to drape over.
- Mark the eye holes. Place the fabric on your face and carefully mark where your eyes are with a fabric marker. Ensure they align with your eyesight.
- Create the mouth. Decide on the shape of your ghostly mouth, mark it, and cut it out. Remember to add a horrific twist to the design.
- Shape the eye holes. Cut out the eye holes. Make them big enough to see clearly but not so large that they ruin the ghostly effect.
- Reinforce the edges. Use fabric glue or stitches to reinforce the edges of the eye holes and mouth, preventing fraying.
- Add the eerie details. Stitch or glue on extra fabric to create shadows, wrinkles, or the angry eyebrows you designed.
By following these straightforward steps, you’ll create a ghost face costume that is both startling and comfortable. Remember, the key is to balance visual impact with wearability, ensuring that your ghost face mask is safe to wear while striking terror into the hearts of onlookers.
Draping Techniques for Your Ghost Costume
Mastering draping techniques can elevate your ghost face costume from simple to spectacular. Draping is about creating a flowing, ethereal effect that mimics the movement of a ghost. Below are some tips to help you drape your costume effectively.
- Start with a base layer. Use a simple, white garment like a long tunic as the base. It will support the extra layers.
- Cut the fabric into strips or panels. This will give you more control over the placement and flow.
- Layer your fabrics. Place lighter, gauzy materials over heavier ones to achieve an opaque yet airy look.
- Vary lengths for a tattered look. Different fabric lengths can suggest wear and age, adding to the creepiness.
- Attach layers asymmetrically. Ghosts are rarely symmetrical. Uneven layering can create a sense of disarray.
- Let some fabric trail. Lengths of fabric trailing behind you can enhance the spooky floating effect as you move.
- Secure your draping. Use safety pins or a few stitches to keep your costume in place without affecting its flow.
- Practice moving in your costume. Ensure your draping contributes to the ghostly presence and doesn’t hinder movement.
By applying these draping techniques to your ghost face costume, you’ll create a hauntingly lifelike figure that’s ready to glide into any Halloween event with otherworldly grace.
Adding the Finishing Touches: Distressing Techniques
To give your ghost face costume a truly haunting appearance, distressing techniques are essential. These give the effect of age and wear, suggesting a spirit from a bygone era. Here are some straightforward methods to add those finishing touches:
- Use tea or coffee for staining. Soak your fabric in a mix of tea or coffee. This will give it a yellowed, antique look.
- Add rips and tears. Use scissors to create small cuts or tears in the fabric. Be strategic; random patterns can look more natural.
- Burn the edges lightly. With care, lightly singe the edges of your fabric using a flame. It creates a withered effect. Always be safe and never leave burning fabric unattended.
- Create faux mold spots. Use green or brown fabric paint to dab on small spots. It mimics mold or decay.
- Rub with sandpaper. This will fray the fabric and give a worn texture to your costume.
- Splash with red paint. For a ghost with a backstory, red paint can imitate blood. Apply sparingly for impact.
By applying these distressing techniques, your ghost face costume will have the perfect eerie and worn look. It will seem like it’s been haunting for centuries! Always remember, less can be more. Overdoing it may lessen the desired effect. Instead, aim for subtle detailing that suggests a story behind the specter.
Safety Considerations for Wearing Your Ghost Face Costume
Creating a ghost face costume is just part of the Halloween fun; wearing it safely is equally important. Here’s how to ensure your spooky attire doesn’t turn into a real scare.
- Check the fit. Your costume shouldn’t be too tight or too loose. Avoid tripping hazards by ensuring the costume’s length is appropriate.
- Maintain clear vision. Make certain the eye holes in your mask are large enough to see through clearly.
- Ensure breathability. The mouth area must allow for easy breathing. Avoid thick or layered fabrics that could restrict airflow.
- Use non-toxic materials. Whether it’s fabric paint or adhesives, make sure they are safe to use and won’t cause irritation.
- Test the costume. Before the event, wear your ghost face costume at home to check for any discomfort or hazards.
- Adequate lighting. If you’ll be out at night, add reflective tape or carry a flashlight to make sure you’re visible to others.
- Avoid flammable materials. Stay away from highly flammable fabrics, especially if you’ll be around candles or other fire sources.
By keeping these safety considerations in mind, your ghost face costume will be a hit at any Halloween gathering without compromising on your well-being.
Inspiration from Pop Culture: Iconic Ghost Face Examples
Pop culture is rich with ghost face costume inspiration that can take your Halloween game to the next level. Drawing from these iconic representations can help you design a memorable and spine-chilling costume. Here are a few famous examples to ignite your creativity:
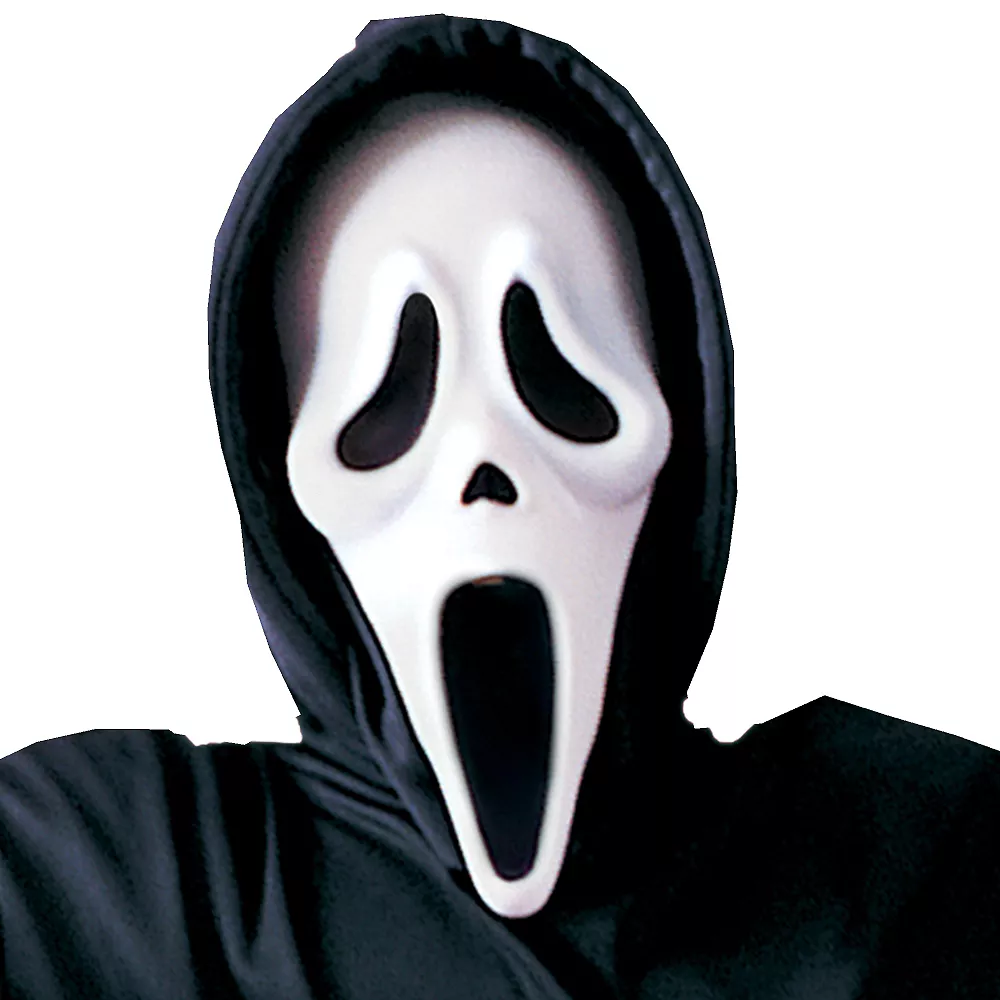
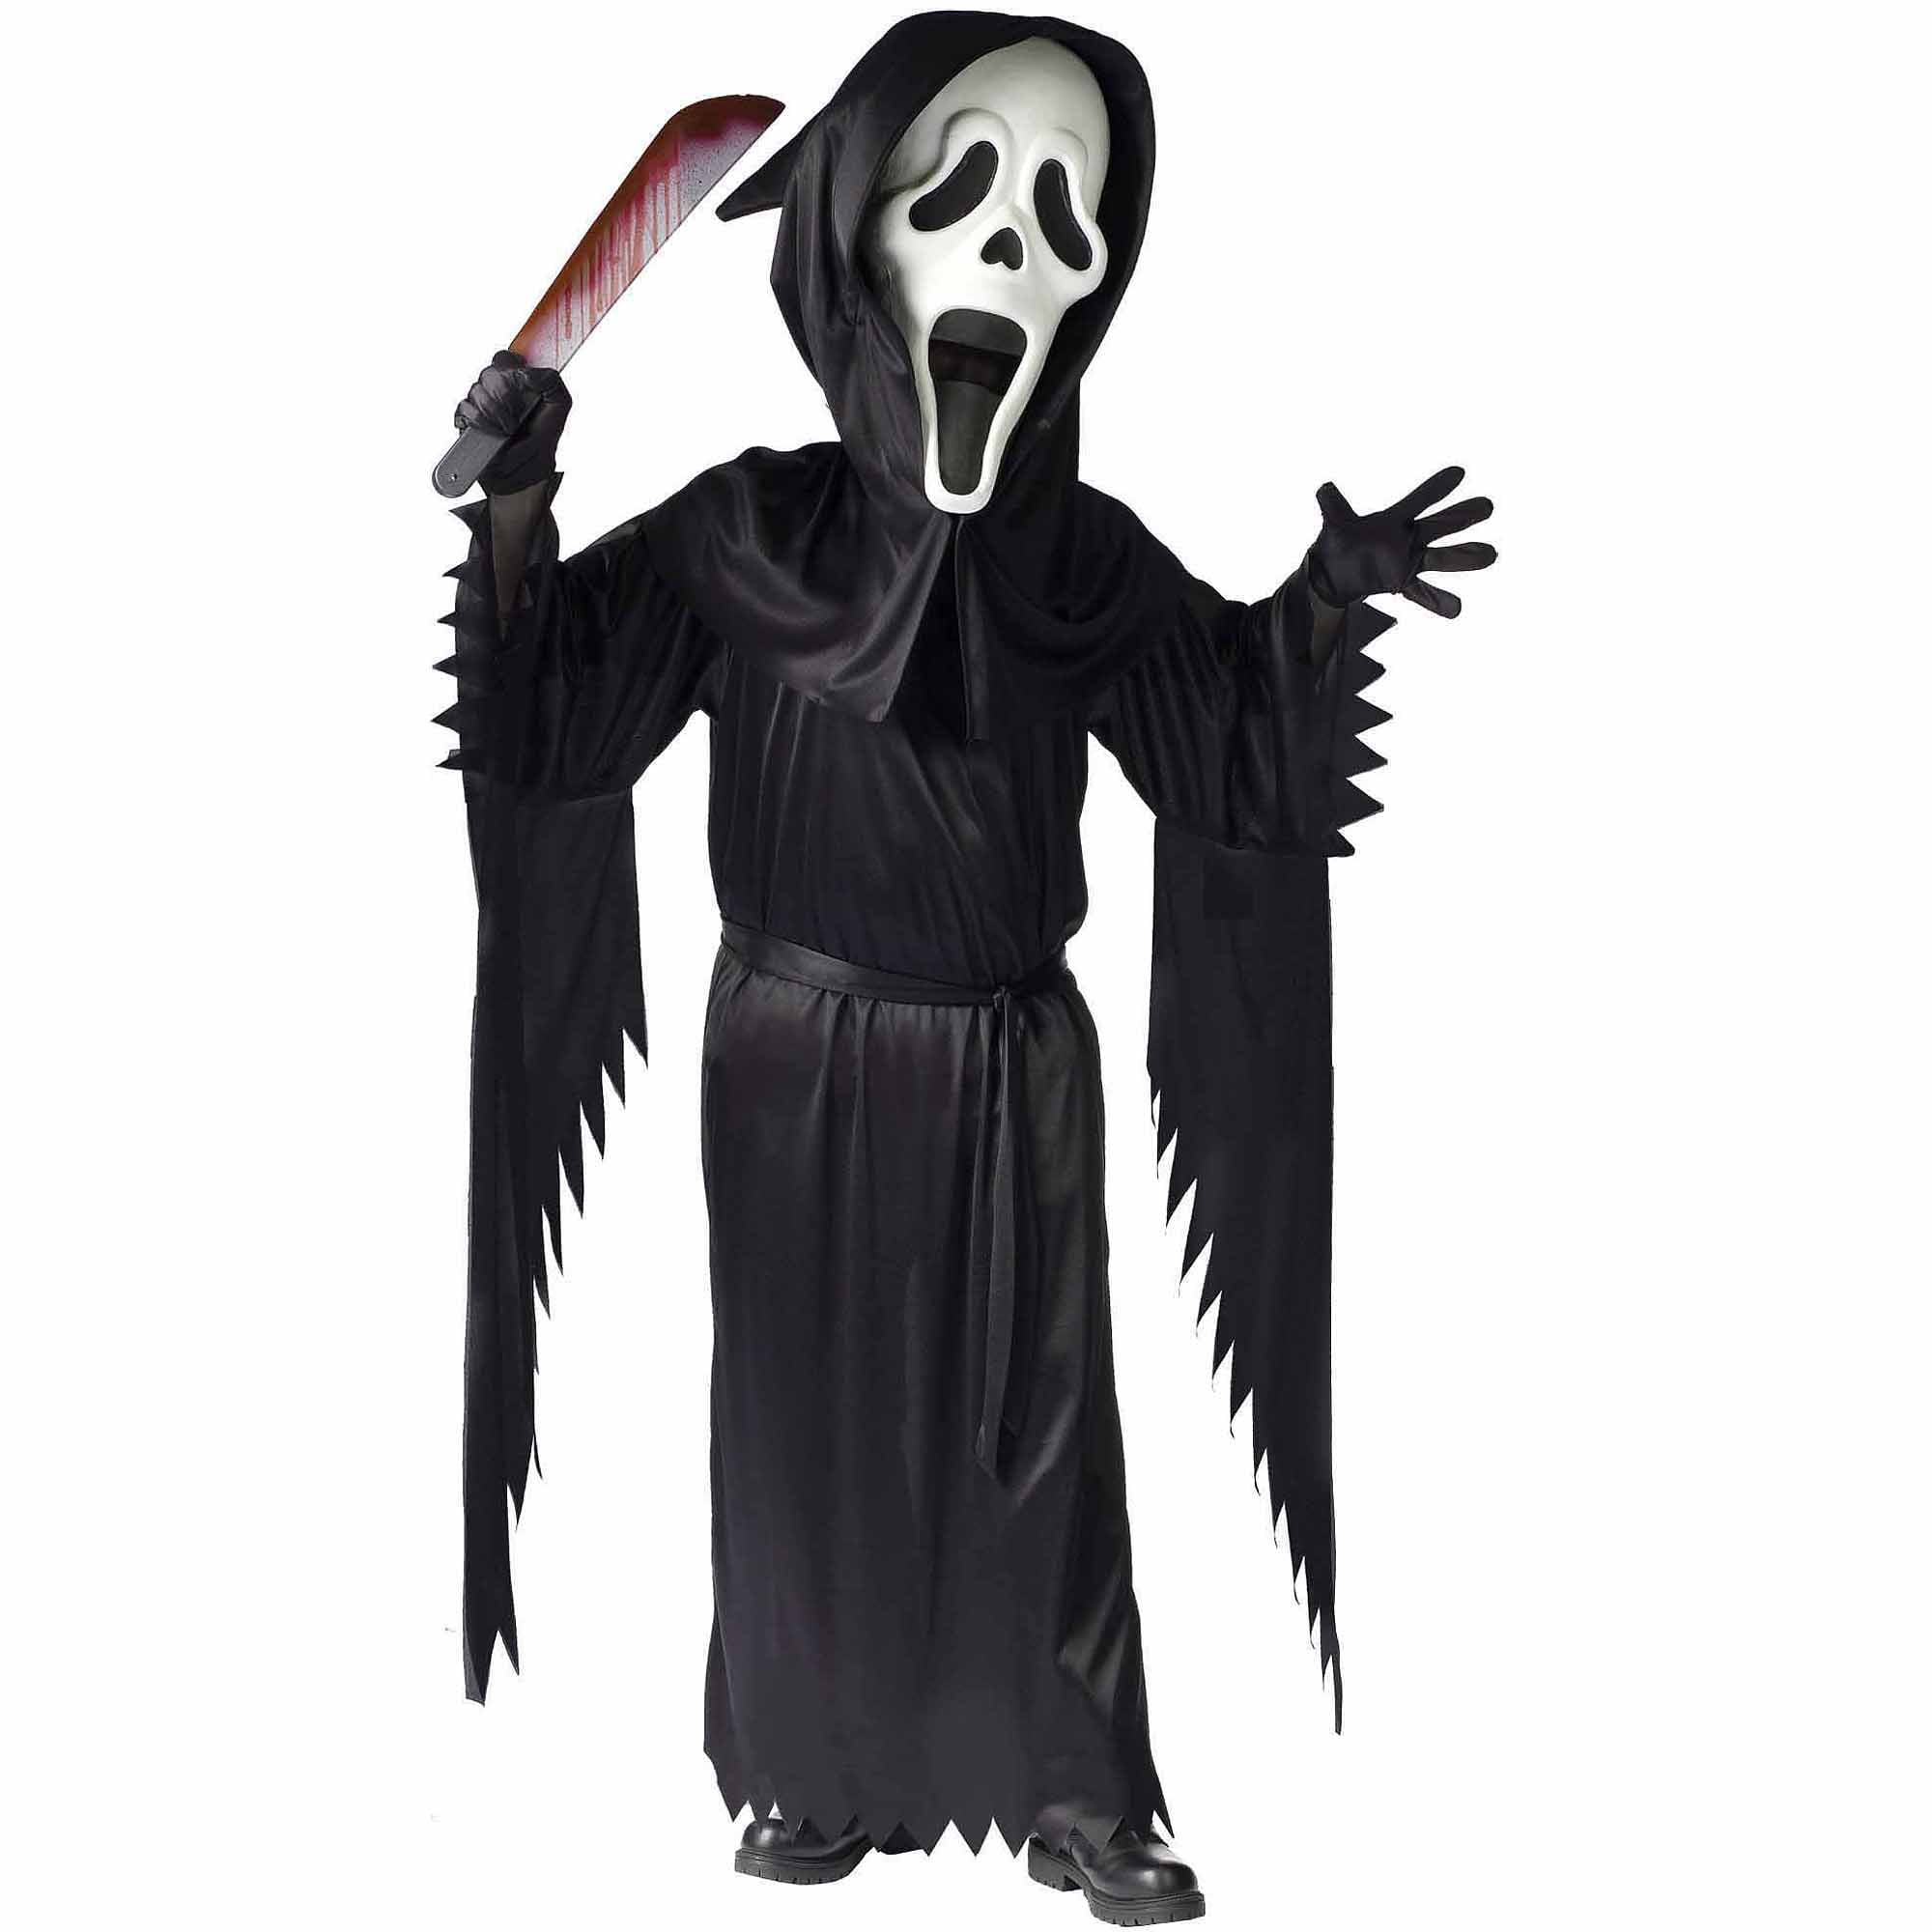
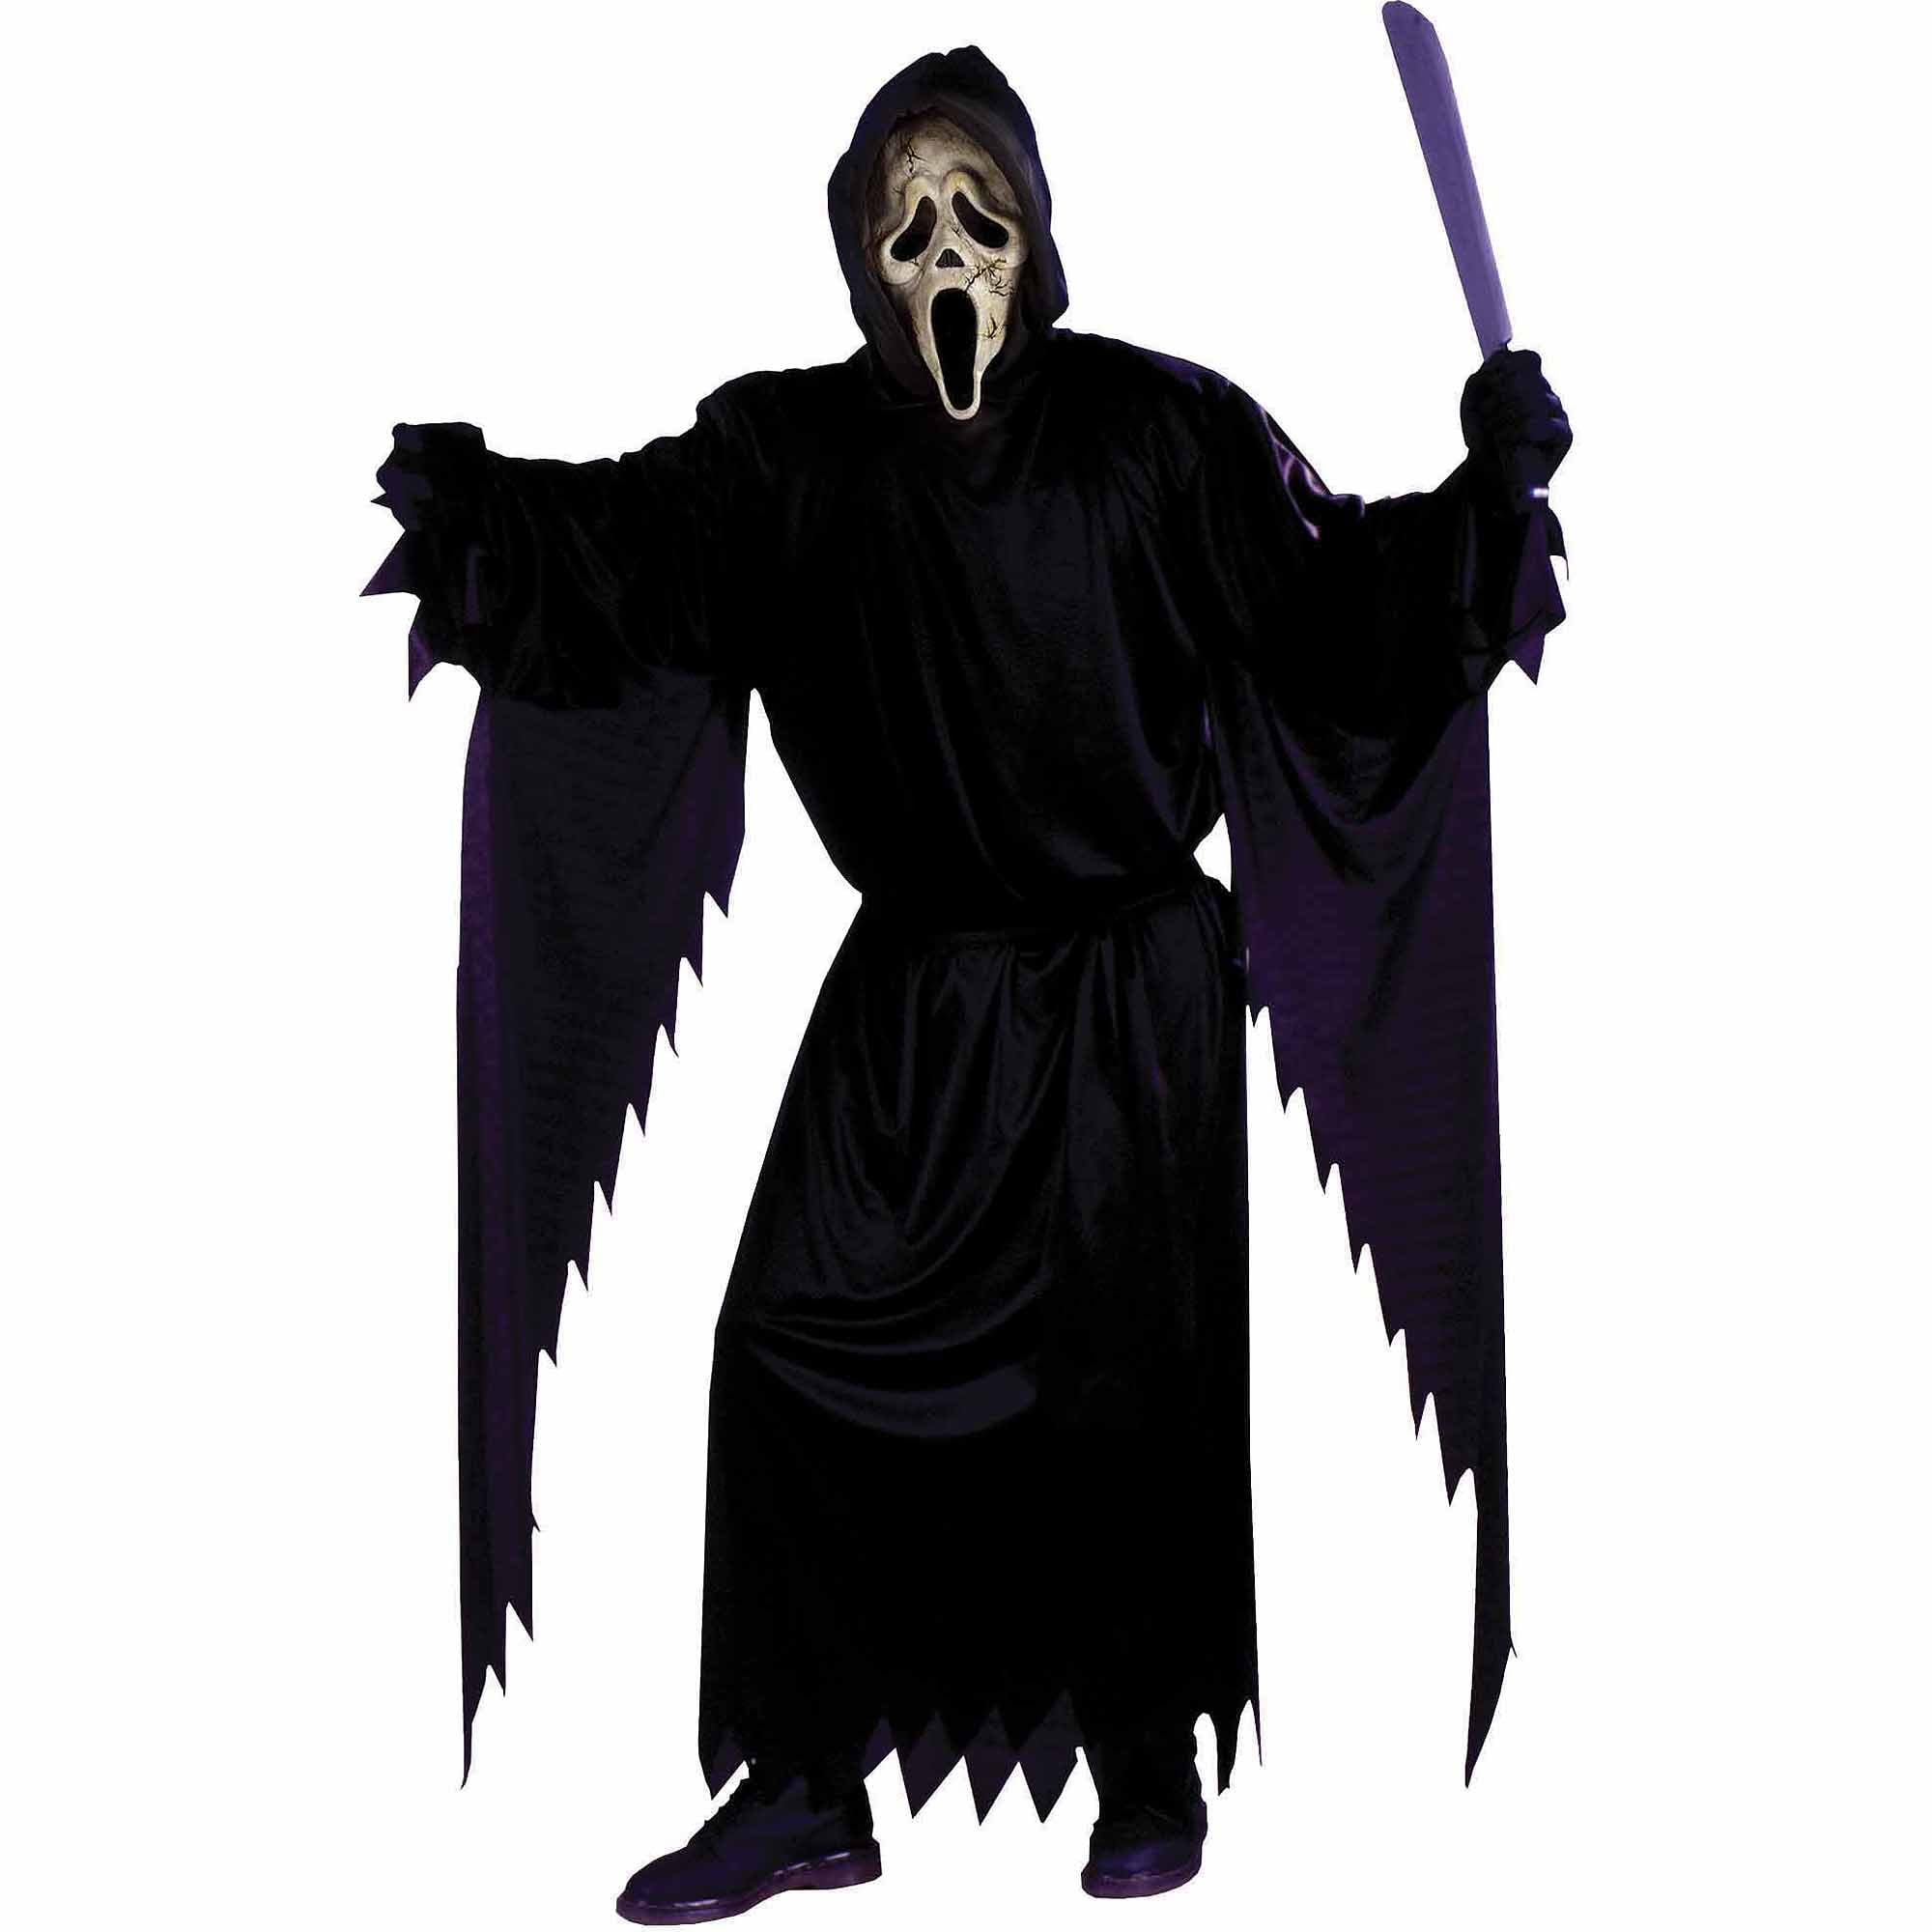
- The Classic ‘Scream’ Ghostface. This masked figure is a staple in horror culture. Its elongated face and wide, staring eyes make it instantly recognizable.
- ‘A Christmas Carol’s’ Ghost of Christmas Yet to Come. This ghost’s shrouded figure is the epitome of spookiness, with its silent and ominous presence.
- ‘Harry Potter’s’ Nearly Headless Nick. The friendly ghost offers a more light-hearted take on the ghost face, showing that not all spirits need to be terrifying.
- ‘The Ring’s’ Samara. With her pale face and long, dark hair, Samara has become a terrifying icon of ghostly appearance.
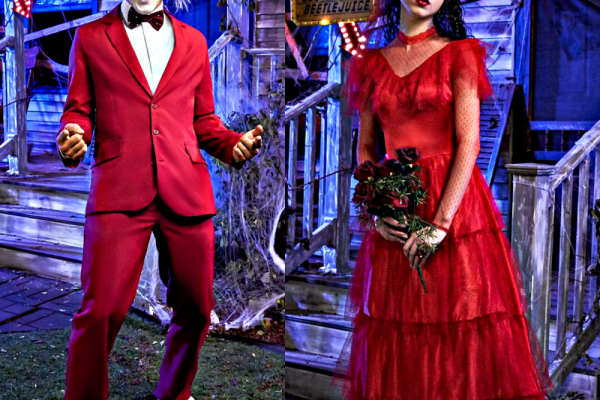
- ‘Beetlejuice’s’ Ghosts. The quirky and comical ghost faces in this classic film are known for their exaggerated expressions.
- ‘Pirates of the Caribbean’s’ Ghostly Pirates. These characters combine eerie undead elements with a swashbuckling style.
- Japanese Yokai Spirits. These traditional spirits found in folklore can inspire a wide range of ghost faces, from vengeful spirits to whimsical entities.
By looking at these pop culture examples, you can find a variety of ways to craft your own ghost face costume. Whether you choose to create something chilling or comical, make sure it stands out. Combine elements from different inspirations to create a costume that’s unique to you and the Halloween experience you wish to deliver.
Maintaining Your Costume: Storage and Cleaning Tips
After creating your ghost face costume, properly maintaining it will ensure it lasts for many Halloweens. Follow these storage and cleaning tips to keep your costume in top condition.
- Clean gently before storing. If your costume is washable, hand-wash it in cold water with a mild detergent. Avoid machine washing which can damage delicate fabrics.
- Address stains immediately. If you have any stains, treat them with a stain remover suitable for the fabric type before they set in.
- Dry completely. Before storage, make sure your costume is fully dry to prevent mold and mildew. Lay it flat or hang it to air dry.
- Store in a cool, dry place. Keep your costume away from damp areas and direct sunlight. Use a garment bag or a sealed container for protection.
- Fold carefully. To avoid permanent creases, fold the costume loosely. For more structured pieces, consider using tissue paper to retain shape.
- Avoid compressing the fabric. Don’t stack heavy items on top of your costume. This can cause the fabric to compress and lose its shape.
- Refresh the costume before wearing. Unfold your costume a few days before your next wear. This allows it to regain its shape and removes any wrinkles.
- Spot clean when necessary. For small blemishes, use a damp cloth to clean the affected area. Avoid soaking the whole costume.
By taking care of your ghost face costume after Halloween has ended, you’ll have a fantastic outfit ready for the next spooky season.